Understanding the Basics of Drill Chucks
What is a Drill Chuck?
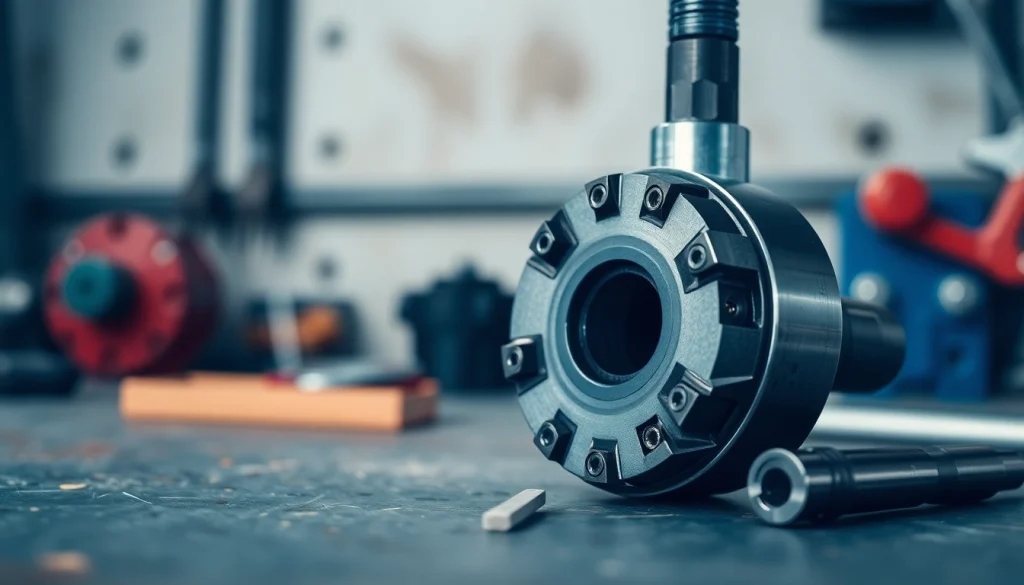
A drill chuck is a pivotal component of power drills that grips and secures the drill bit, allowing it to rotate at high speeds for precise drilling operations. Essentially acting as a clamp, it holds the shank of the drill bit, ensuring that it remains stable while the drill operates. The efficiency, precision, and accuracy of a drilling operation largely depend on the quality of the drill chuck in use. For those delving into drilling projects or assessing their tools, understanding this component is critical, especially when selecting a drill chuck that meets specific needs.
Types of Drill Chucks Explained
Drill chucks come in several types, each designed to cater to different needs and preferences among users. Understanding these variations is essential for selecting the right tool:
- Keyed Chucks: These utilize a key for tightening or loosening the chuck. Although they provide a firm grip on the drill bit, they require a bit more effort to operate.
- Keyless Chucks: These allow users to tighten or loosen the chuck without a key, making them more convenient and faster to use. However, their grip might not be as secure as keyed chucks.
- Automatic Chucks: These chucks automatically adjust as the drill bit is inserted. They provide convenience and speed, allowing for seamless transitions between bits.
- Hex Chucks: Designed specifically for hex shanked bits, these provide a secure fit and are commonly used for impact drivers.
Importance of Choosing the Right Chuck Size
The size of a drill chuck is crucial for both compatibility with drill bits and the application it is being used for. Drill chucks are commonly available in various sizes, ranging from 1/4 inch to 1/2 inch in diameter. Selecting the appropriate size affects the drill’s performance and durability. A chuck that is too small may not securely hold larger bits, resulting in slippage or breakage, whereas an unnecessarily large chuck may lead to stability issues.
How to Install a Drill Chuck Properly
Step-by-Step Installation Process
Installing a drill chuck may seem daunting, but following a systematic approach can make the process straightforward. Here’s a basic guide:
- Unplug the Drill: Safety is paramount. Always ensure the drill is unplugged before starting.
- Remove the Old Chuck: Use a chuck key or pliers (if applicable) to loosen and remove the existing chuck.
- Prepare the New Chuck: Check the specifications to ensure compatibility and align it with the drill’s spindle.
- Secure the Chuck: Thread the new chuck onto the spindle and tighten it using a wrench, ensuring it is snug but not overtightened.
- Check for Alignment: Spin the chuck by hand to ensure it rotates smoothly. If it wobbles, recheck the installation.
Tools Needed for Installation
Before starting the installation process, gather the necessary tools, which typically include:
- Chuck key (if applicable)
- Open-end wrench or pliers
- Safety goggles
- Lubricating oil (optional)
Common Installation Mistakes to Avoid
While installing a drill chuck, several common pitfalls can compromise effectiveness:
- Over-tightening the chuck can cause damage to the drill or the chuck itself.
- Neglecting to align the chuck properly may lead to wobbling during operation.
- Forgetting to remove the old chuck can lead to complications during installation.
- Skipping safety precautions, like wearing goggles, can lead to injuries.
Evaluating Drill Chuck Performance
Key Features to Look For
When assessing a drill chuck, several features indicate quality and performance:
- Grip Strength: A high grip strength ensures stability and reduces slippage during drilling.
- Chuck Construction: High-quality materials such as steel or hardened metal can enhance durability.
- Weight: A lighter chuck can improve maneuverability, while heavier chucks may offer more stability.
- Drill Bit Compatibility: Ensure the chuck accommodates various sizes of drill bits, especially if multiple projects require different sizes.
Assessing Chuck Quality and Durability
The lifespan and effectiveness of a drill chuck directly impact overall project efficiency. Signs of a quality drill chuck include:
- Resistance to wear and tear
- Minimal occurrence of slippage under load
- Consistent performance across various drilling applications
It’s important to read product reviews and opt for reputable brands known for their high manufacturing standards.
Performance Metrics for Different Applications
Different applications—be it woodworking, metalworking, or construction—demand unique performance metrics. For example:
- Woodworking: Requires faster drilling speeds, hence a lightweight and quick-adjusting chuck is beneficial.
- Metalworking: May demand higher torque and a more robust chuck to manage tougher materials without damaging the bit.
- General Use: Versatile chucks that can accommodate various bit sizes are ideal for mixed-use scenarios.
Drill Chuck Maintenance Tips
Cleaning and Lubrication Best Practices
Regular maintenance is vital for ensuring longevity and optimal performance of your drill chuck. Here are some maintenance tips:
- Regular Cleaning: After use, wipe down the chuck to remove debris or dust. A compressed air blower can be used to clean out any particles stuck inside.
- Apply Lubrication: Periodically, apply a small amount of lubricant to moving parts of the chuck to reduce friction and wear.
- Check for Damage: Inspect for signs of wear, such as cracks or rough spots, which may affect its functioning.
Identifying Wear and Tear
It’s crucial to periodically assess the chuck for wear and tear:
- Listen for unusual noises when in operation, which may indicate misalignment or wear.
- Check for a loose grip on bits, which can be a sign of a deteriorating holding mechanism.
- Inspect for any visible damage or deformation in the chuck area.
Extending the Lifespan of Your Drill Chuck
To maximize the lifespan of your drill chuck:
- Store drills in a dry, protected place to avoid rust and damage.
- Avoid excessive force on the chuck by using appropriate bits for the task.
- Rotate different types of bits to avoid wearing down the chuck unevenly.
Top Brands and Models of Drill Chucks
Comparison of Leading Drill Chuck Brands
When exploring the market, several brands consistently deliver high-quality drill chucks:
- Jacob’s: Known for durability and performance, Jacob’s chucks often feature keyless designs that simplify bit changes.
- Albrecht: Renowned for precision and engineered for accuracy, their chucks are preferred in industries requiring high tolerances.
- Röhm: Offers customizable options through their configurator to match specific needs of users, providing a unique user-centric approach.
Expert Recommendations for High-Performance Models
Experts commonly recommend the following drill chuck models based on performance:
- Albrecht 30-J1: This keyless drill chuck is praised for its accuracy and ability to handle a wide range of bits.
- Jacobs 500 Series: Known for its robust construction, it provides excellent grip and longevity.
- Röhm RORMAX: This model is customizable and ideal for machining, offering precision and power.
User Reviews and Insights on Popular Drill Chucks
User experiences provide valuable insights into the reliability of these drill chucks. Many users have reported satisfaction with the grip strength of Albrecht models, while others appreciate the ease of use with keyless designs from Jacob’s. Online forums and dedicated tool review sites provide a wealth of experiences that can guide potential buyers in their decisions.